Photo Essay: Hernandez shares passion for ceramics
Throwing pottery is Carlos Hernandez’ passion. He has been involved with the Seward County Community College class for the last six years. The class is open to students and the community. Many in the class are like Hernandez and repeatedly take it for the chance to create in the art lab.
February 13, 2019
If Carlos Hernandez isn’t walking around campus as a security guard, he’s normally in the art lab. The security guard and SCCC student spends most of his time perfecting his ceramic techniques.
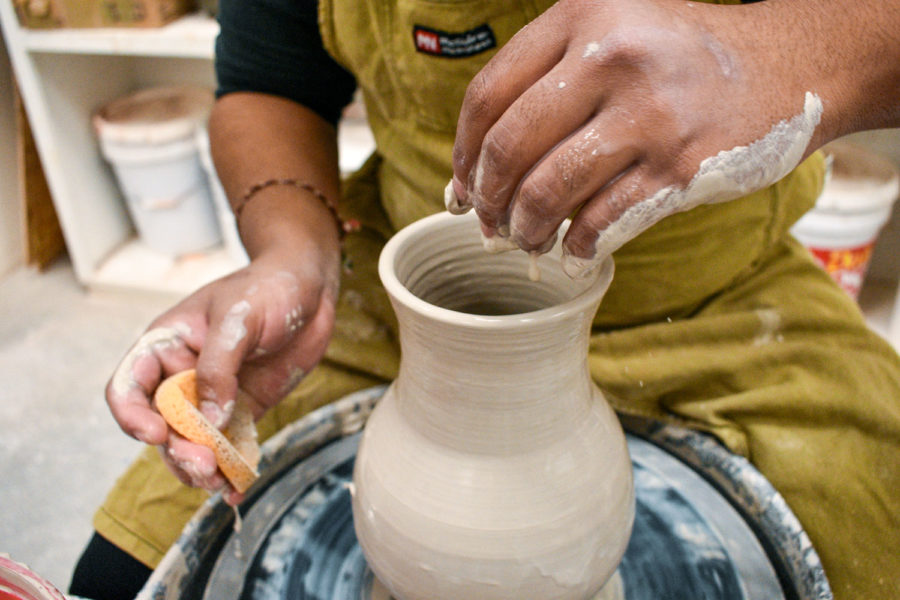
Hernandez, a Liberal native, has a passion for pottery. He said he loves to see what he can make out of a simple block of clay. Watch as he goes step-by-step on how to make a vase.
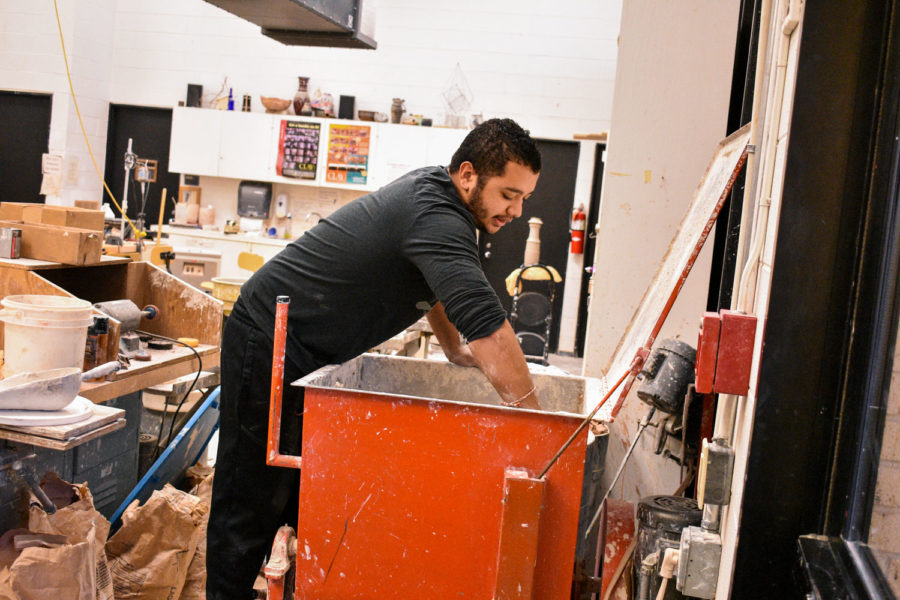
A mixer is used to make moldable clay. It takes the clay from a mud stage to a hardening stage. That way, the clay will be able to form and move around without losing its shape.
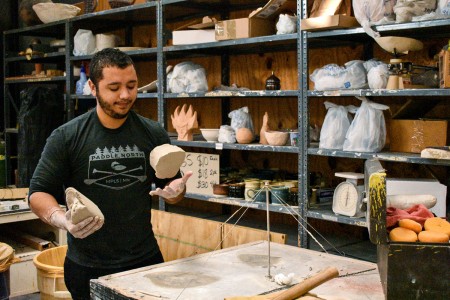
Inside the mixer, there is also clay that has already been used but hasn’t been bisque (clay to rock). Water is added if the clay is too dry. A spoon full of stony white powder is added to make the clay thicker if there is too much water. A spoon full is 100g.
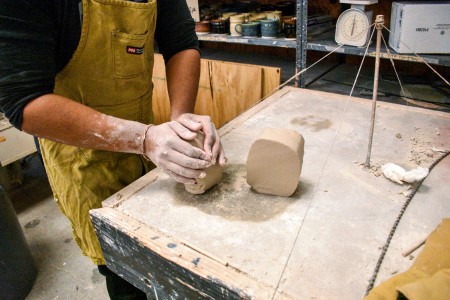
When the clay is taken out of the mixer, there are pockets of air in it. This needs to be taken out by wedging. The clay gets thrown hard on the table a few times and handled a lot to make sure all air is out. Leaving air bubbles will end in disaster. One of the last steps is to heat the pot up and if it has a pocket of air, the pot will explode.
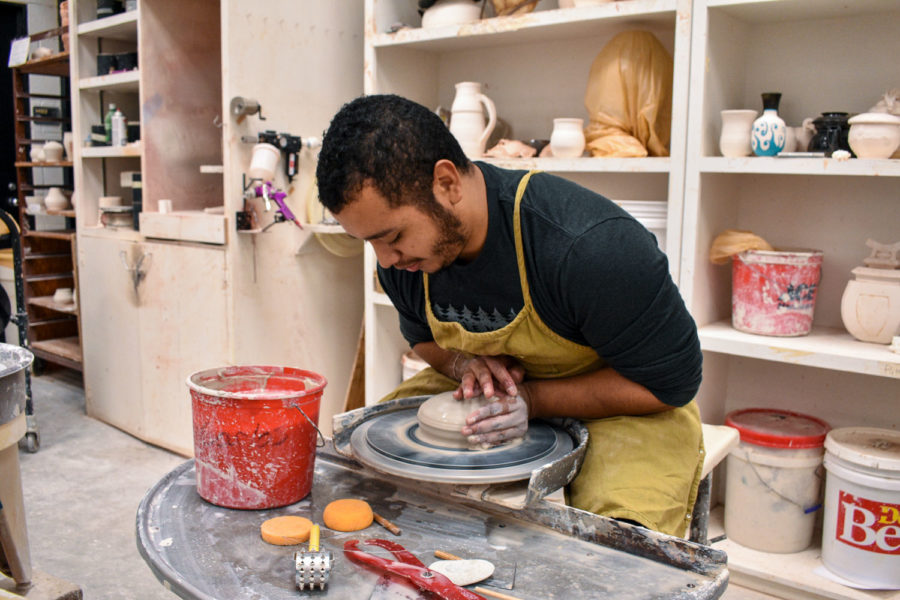
Centering the clay is one of the most important things to do. Without doing so, it will be extremely difficult to shape.
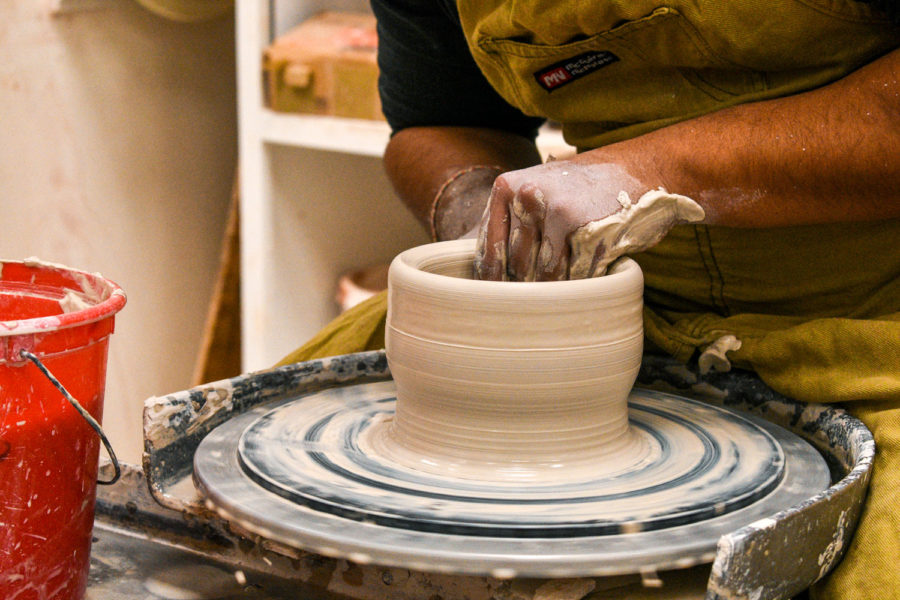
Dropping is to make a hole in the middle of your clay using your hands. Push clay down in the middle and then pull up with your fingers. Place both hands around the base of the clay and slowly squeeze the clay to center and cone up. Raise it to make a cylinder.
Water is added to your hand in order to lubricate them so you would be able to shape the clay. Without the water, it won’t be smooth and can ruin it. Shape the clay by gently pushing it from the inside our to make a belly and somewhat of a neck.
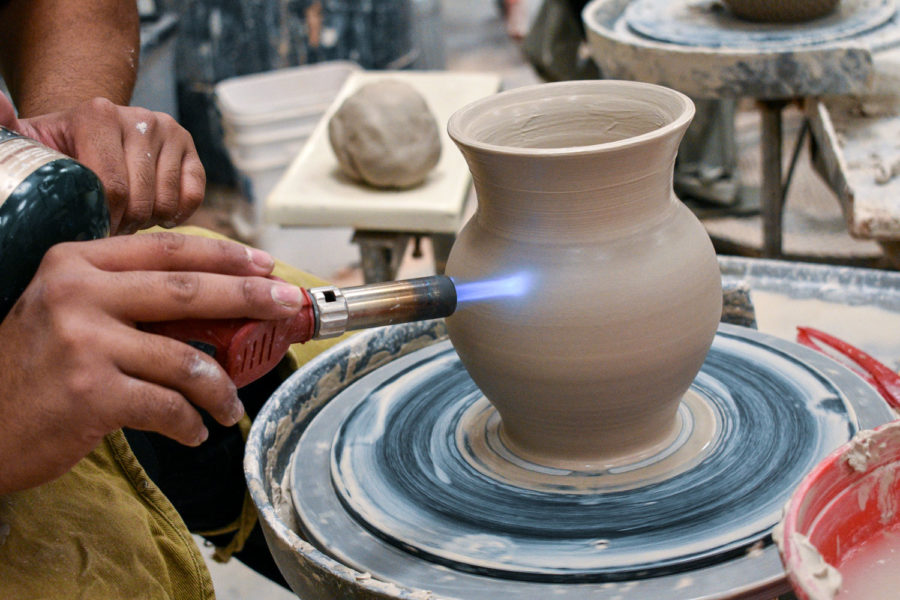
The torch is used to make the belly of the pot harden. The reason is so when the neck is being formed, the belly of the pot won’t collapse and fall over.
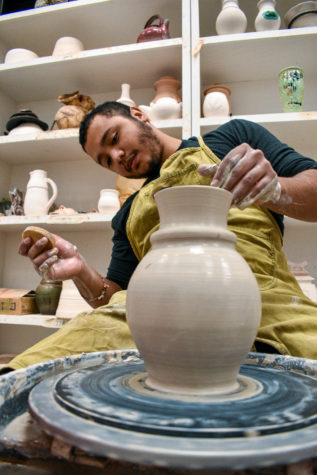
Now the neck of the pot can be done. Shaping the neck can be done in so many ways and it can be changed during this process.
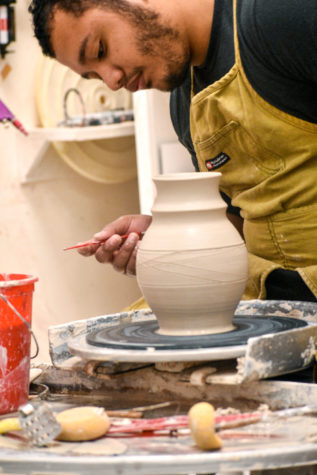
Decorate it. There are many different tools that can make marks or imprints on the pot. Use a wire to separate the pot from the wheel.
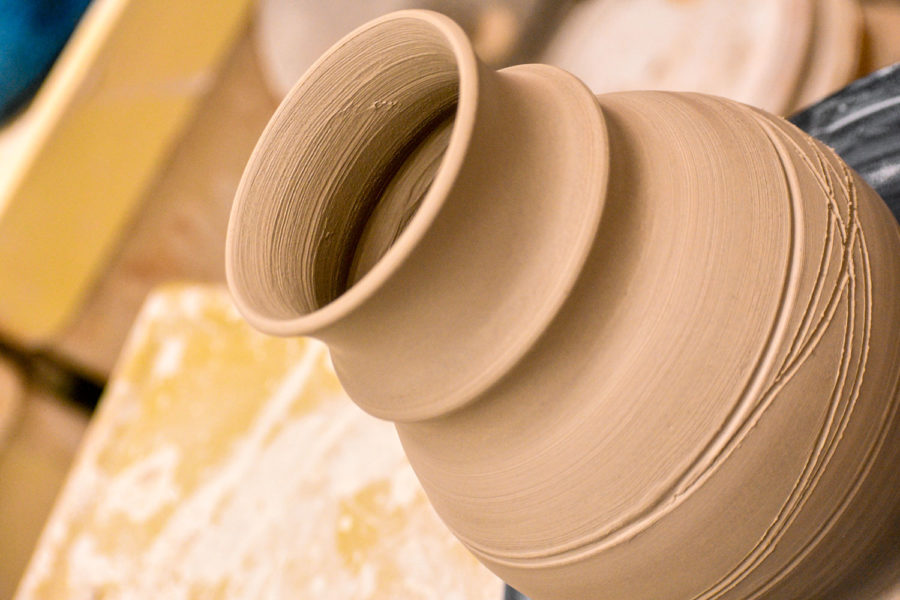
Set it out to dry for at least 24 hours. Then it is placed inside of the kiln to be “fired” or baked. The kiln needs to be completely full. If there’s any open space, the pottery will heat unevenly and this causes many to break or crack. It can take up to 6 weeks for the SCCC kiln to fill up.
Hernandez said that part can be frustrating as you wait to get to the final stage of the project, glazing — or adding color and waterproofing.
The ceramics class meets on Tuesday nights at 6:30 p.m. for non-majors and on Thursday nights at 6:30 p.m. for art majors.






![The sophomores were recognized on the field instead of walking across the stage during their doubleheader. They received their diplomas and a picture of themselves playing during their career at Seward. [Pictured left to right are Dylan Day, Reed Thomas, Jase Schneider, Mason Martinez, Gannon Hardin, Brody Boisvert, and Zach Walker]](https://crusadernews.com/wp-content/uploads/2022/05/WEBDSC_0275-900x454.jpg)




![Marcos Montoya takes a break from working on his personal health from working at the gym. He says “That’s [the gym] my second home, basically. I’m there more than I am at my own house.”](https://crusadernews.com/wp-content/uploads/2023/09/web1UpCloseMarcos1-1200x800.jpg)


