


![The sophomores were recognized on the field instead of walking across the stage during their doubleheader. They received their diplomas and a picture of themselves playing during their career at Seward. [Pictured left to right are Dylan Day, Reed Thomas, Jase Schneider, Mason Martinez, Gannon Hardin, Brody Boisvert, and Zach Walker]](https://crusadernews.com/wp-content/uploads/2022/05/WEBDSC_0275-900x454.jpg)


A guide to making triple-layered chocolate hearts
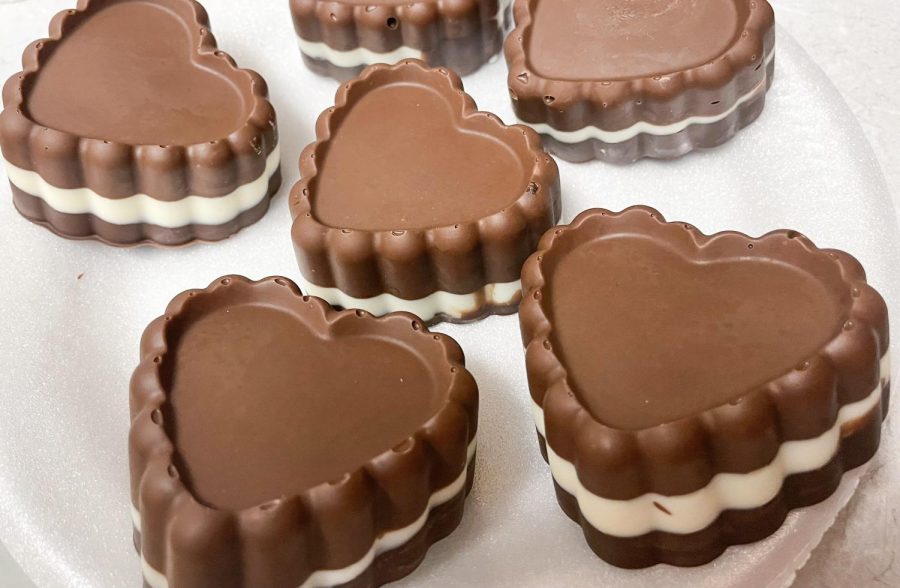
These specific chocolates are a bit on the bigger side of Valentine’s day sweets. Slicing them in half could be a good idea if you think they’re still too large.
On Valentine’s Day chocolate is the go-to gift for millions, no matter if it’s for a special someone or just a friend. As college students, store-bought chocolates are the easiest and fastest types of chocolate to give as a gift. For those who want to go a step above, here is a quick guide on how to make triple-layered chocolates right in your dorm room.

Ingredients and Supplies
Microwave
Fridge (mini fridges can work too)
Heart-shaped molds
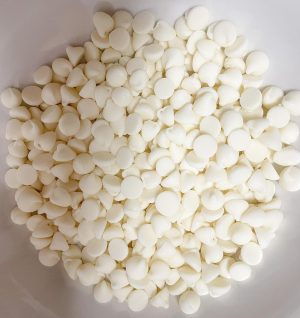
3 different types of chocolates (for this guide, milk, white and dark chocolates were used)
3 microwave-safe containers
A fork and spoon
Milk (optional)
Toothpicks (optional)
Step 1: Preparing the chocolate
For quick melting and hardening chocolate, it’s recommended to use chocolate chips or baking chocolate. However, there’s nothing wrong with using a Hershey’s bar if you prefer. Depending on the type of chocolate used either empty the contents of the bag into a container or start breaking apart the bars into smaller pieces into the container.
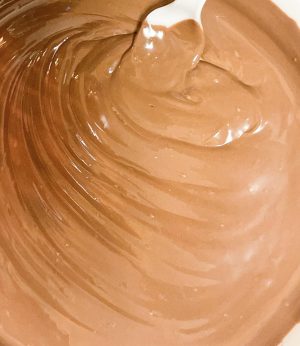
Step 2: Melting the chocolate
Place the container with pieces of chocolate into the microwave for one minute. After that minute take it out and stir the chocolate using the fork. The minute in the microwave will need to be repeated as needed till all the lumps in the chocolate are stirred out. Pulling it out every minute to stir prevents the chocolate from burning while you wait for it to melt.
Step 3: Filling the mold
After melting the chocolate properly, use the spoon to gently pour scoops of the melted chocolate into the mold. Keep in mind the size of the mold you’re using. Scoops will vary depending on how big or small the mold is. For three layers make sure at least one third of the mold is filled for the first layer.
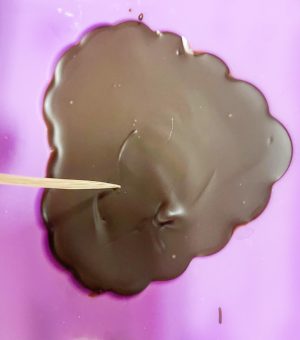
Step 4: Chilling the chocolate
After filling up the first layer to the desired amount, place the mold into the fridge to harden the chocolate. For best results use the freezer part of the mini fridge. The regular fridge can be used but may take longer to harden. While waiting, repeat steps 1-3 for the second layer. Keep an eye on the mold in the fridge while you prepare the next layer. If it hardens too much the layers may not stick properly. A toothpick can be used to test and see how hard the layer is.
Step 5: Enjoy the chocolate
Once the final layer has had time to harden, pull the mold out of the fridge. Before popping the chocolate out of the mold be sure to test it and make sure it’s hardened. When it is, pop them onto a plate or into a box if it’s a gift. Be sure to give them an hour or two outside of the fridge once it’s done – you don’t wanna hurt a tooth on a hard piece of chocolate.

Daniel Rodriguez is a 22-year-old student going on 4 years at Seward County Community College. Currently he majors in education....